Enabling .NET Framework 3.5 on a PC without an Internet Connection
Procedure Steps
- Mount an image for the version of Windows that you have installed.
- In a Run command, enter "MMC", press [Enter], and navigate to File > Add/Remove Snap-in.
- Add Group PolicyObject to the Selected snap-ins. In the Group Policy Wizard, verify the Group Policy Object is Local Computer and click Finish.
- Expand Local Computer Policy > Computer Configuration > Administrative Templates > System.
- In the Settings section, locate and right-click on "Specify settings for optional component installation and component repair" and select Edit.
- Select the Enabled radio button.
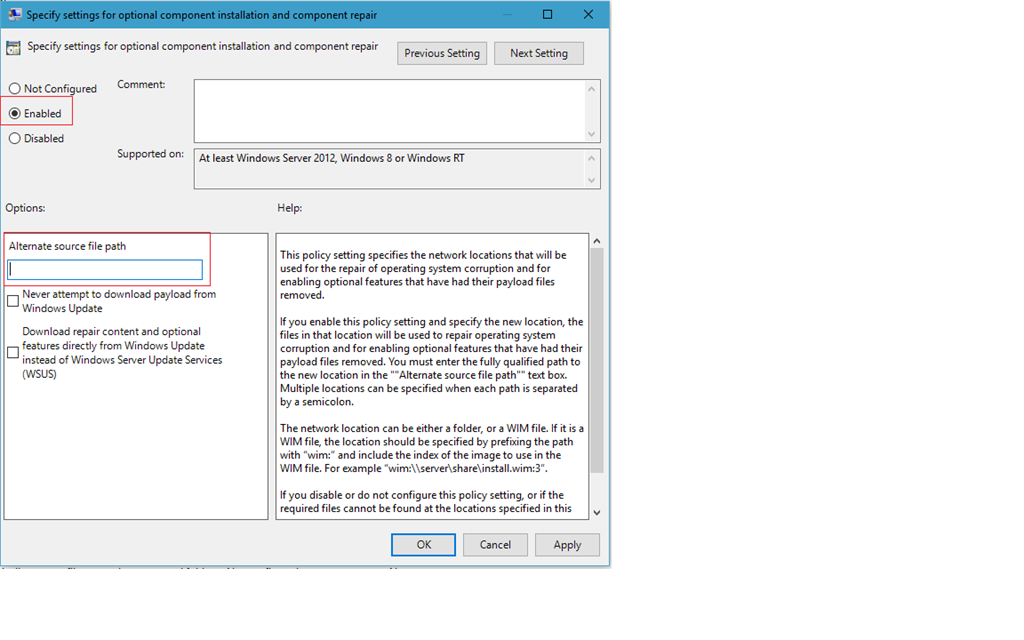
- Update the Alternate source file path with the drive information where the image is mounted. The needed files in the ISO are located in \sources\sxs (Example E:\sources\sxs).
- Open Command Prompt and type “gpupdate /force” and press [Enter].
- If prompted to reboot, ensure that the image is still mounted once the rebooted has completed.
- Navigate to Control Panel > Programs and Features > Turn Windows features on or off and enable .NET Framework 3.5.

Applies To
Windows 7
Windows 10
Additional Information
For more information see: .NET Framework 3.5 installation error: 0x800F0906, 0x800F081F, 0x800F0907