Procedure
- Prepare an empty database on the Azure server (preferably with the same name as existing on-premises database) for each of your existing databases (for example, the live, reports, and archival databases).
- From the Microsoft download center, download and install the Microsoft Data Migration Assistant onto the same workstation containing the existing database.
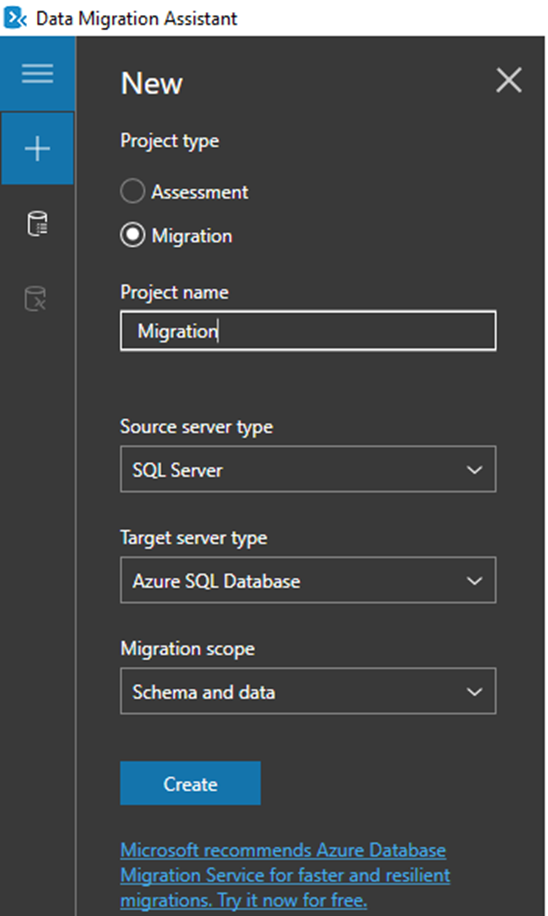
- Run the Data Migration Assistant, then click the “+” icon from the left pane and select the Migration radio button.
- Enter a project name (this name is for internal purposes only), then leave the other options at their default values. Click [Create].
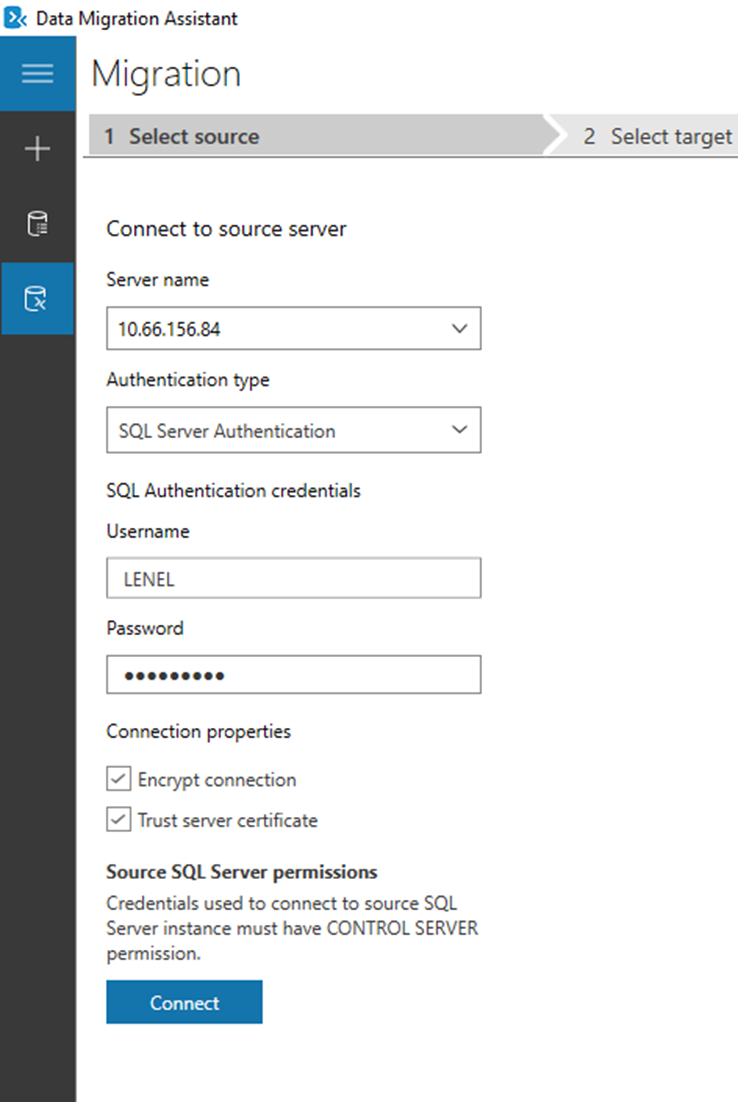
- For 1 Select source, configure the connection to your existing database, then click [Connect].
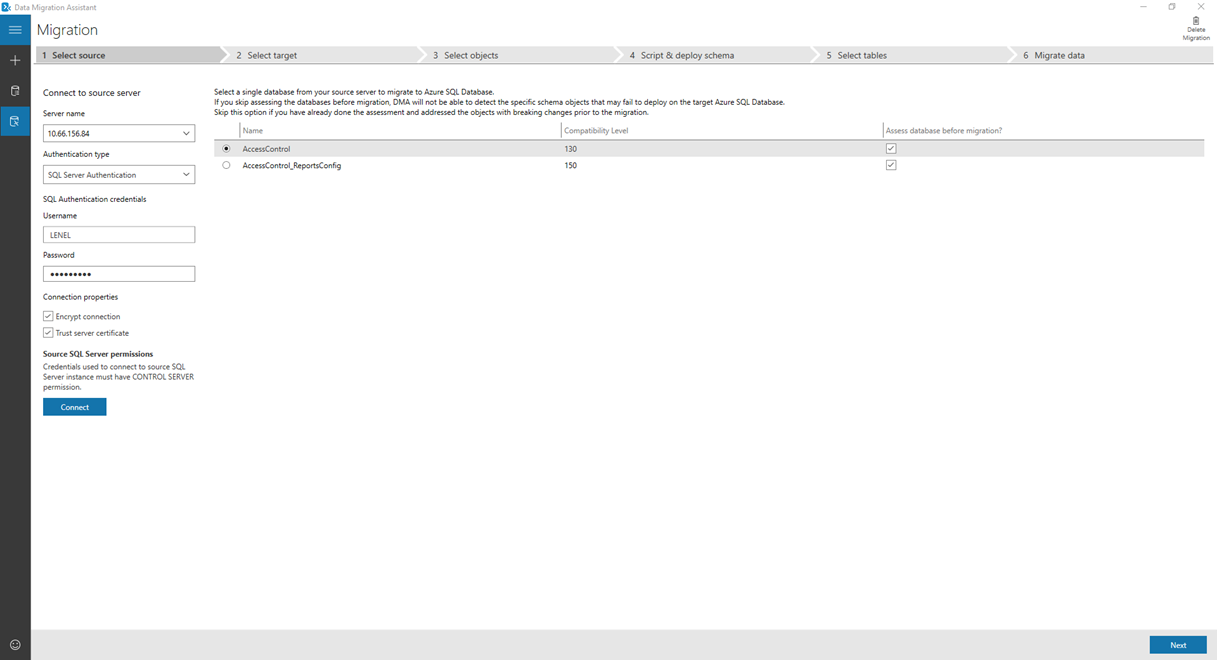
- Select the database which you want to migrate, then click [Next].
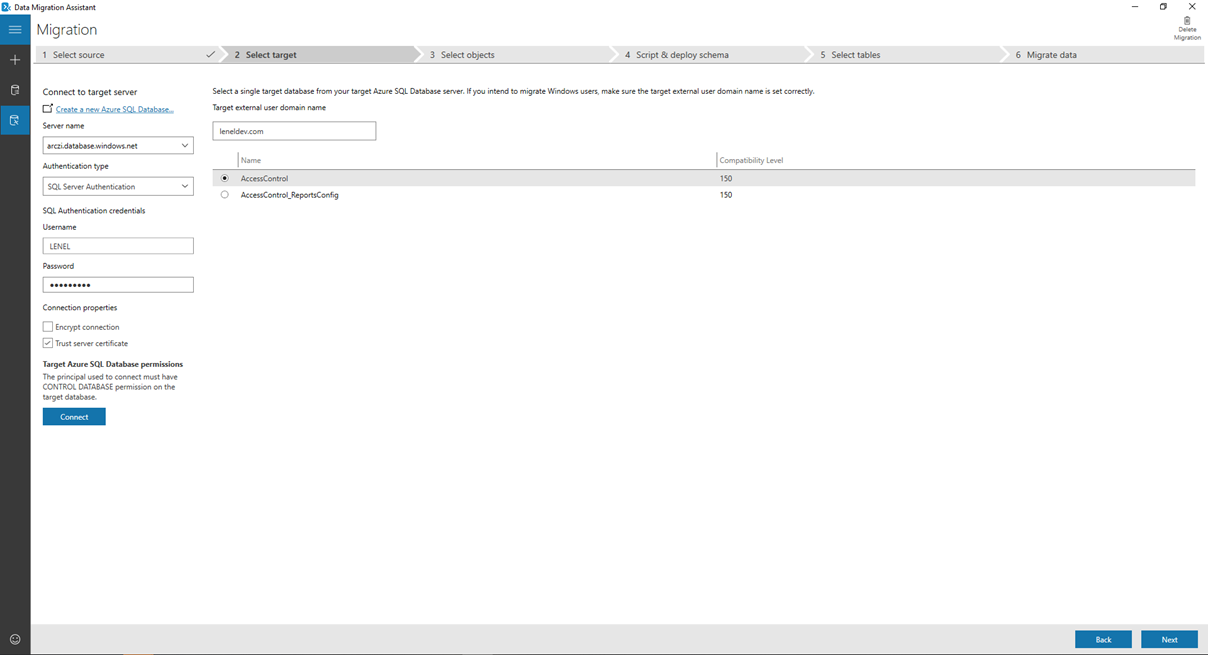
- For 2 Select target, configure the connection to your Azure resources. Select the target database, then click [Next].
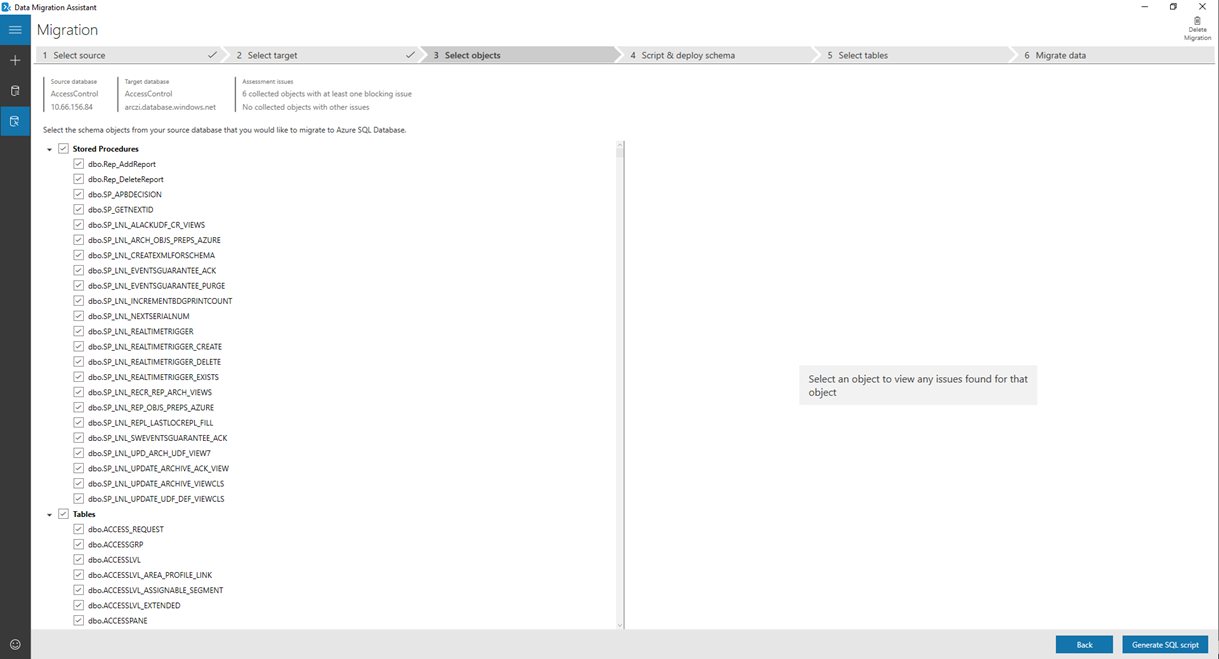
- For 3 Select objects, select the schema objects from the source database that you want to migrate. All objects are selected by default. There will be six blocking issues related to cross-queries that will not be migrated, and might cause problems with acknowledging User-Defined Fields (ACK UDFs). When you're ready, click [Generate SQL script].
- For 4 Script & deploy schema, the generated SQL script is shown. Make edits, if necessary, then click [Deploy schema].

- If errors are shown, review them. If some database objects, such as database views, are shown as broken, or if there are cross-query issue, remove the reference to the database in the affected SQL statements (leave the table name only), then re-generate the script. Once all errors are corrected, proceed with the migration.
Note: When the migration is complete and an archival database is in use, you should archive at least one record of the data so that OnGuard can create Azure-specific database objects for any reports that select the archival data. Otherwise, these reports will select the data from the live database instead of the archival database.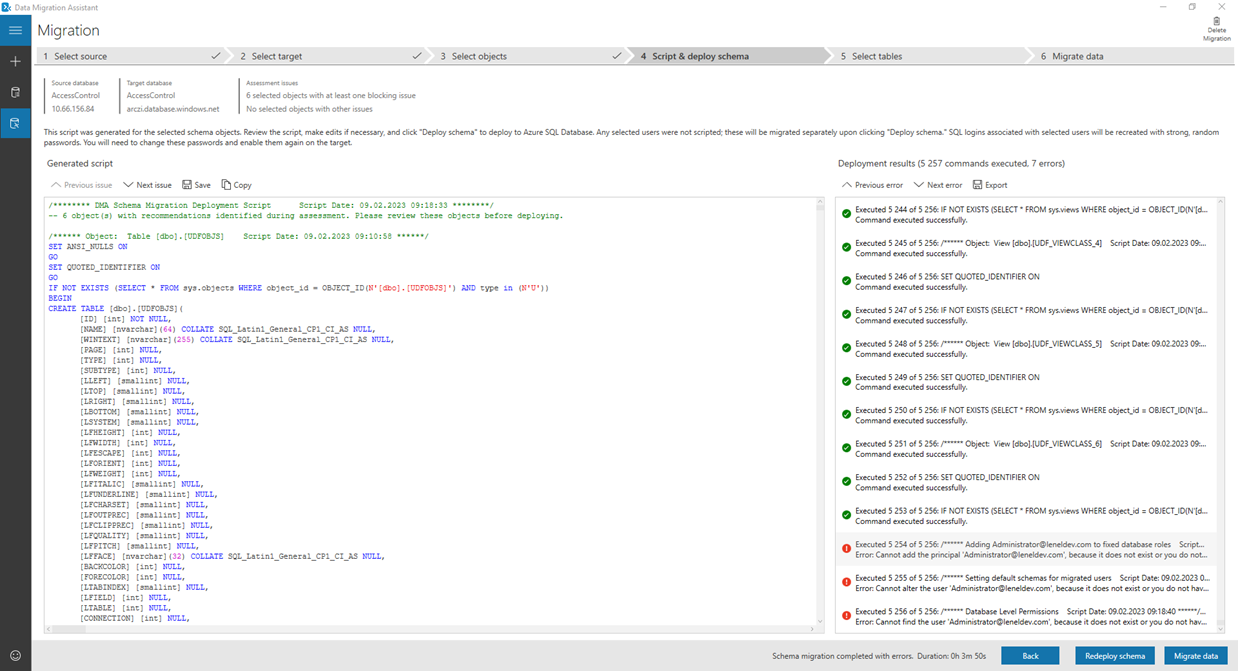
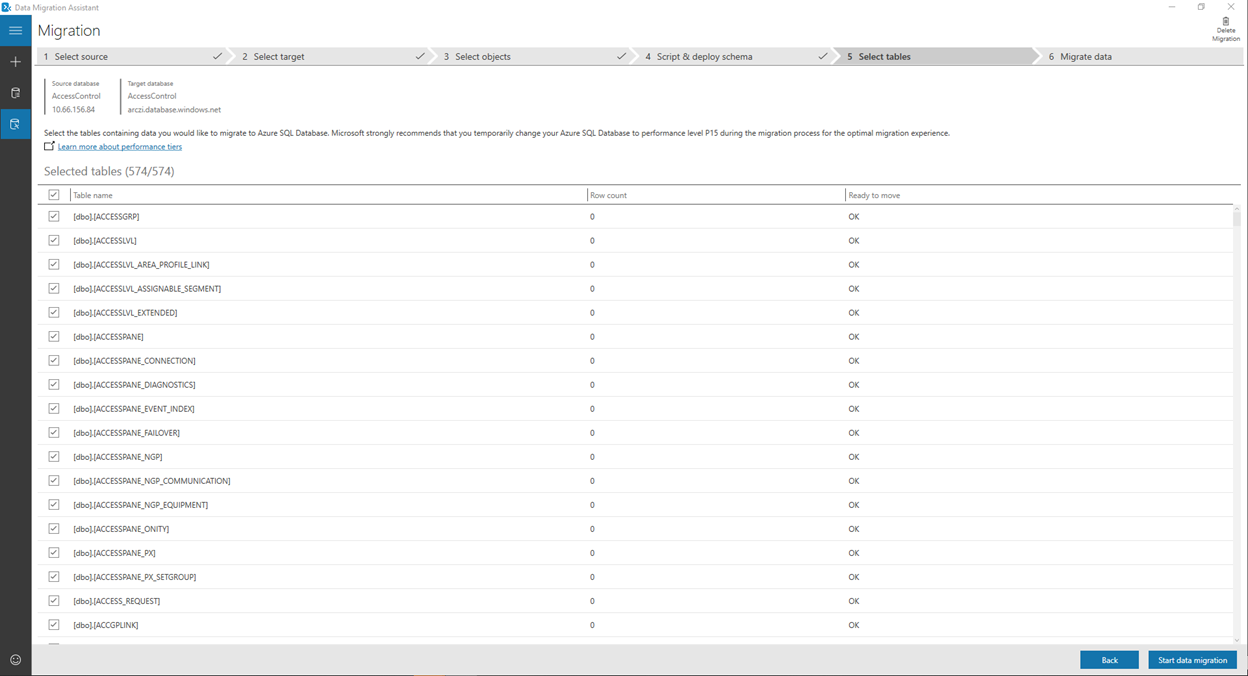
- For 5 Select tables, select the tables with data that you want to migrate. All tables are selected by default. Once you've made your selections, click [Start data migration].
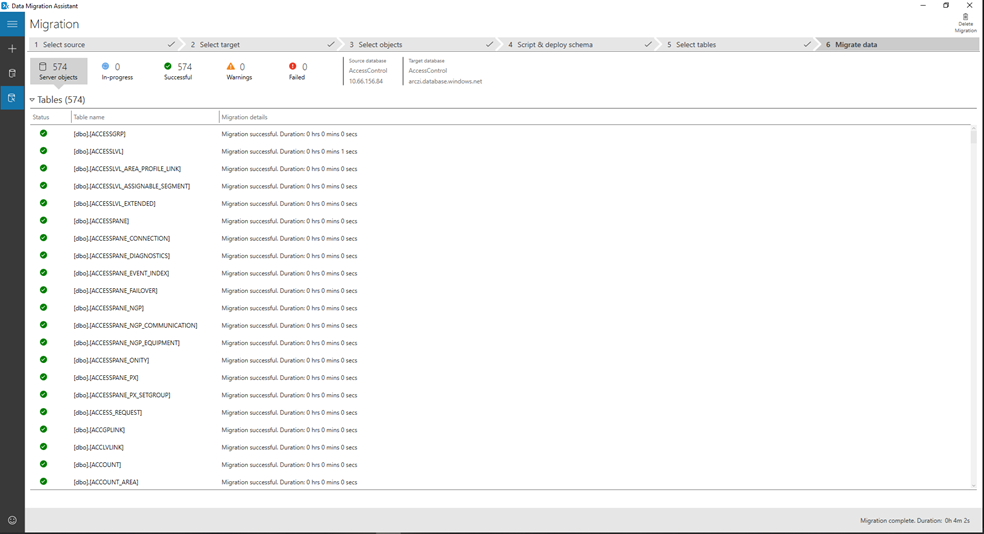
- For 6 Migrate data, you can see the progress in the upper part of the Migration Assistant. Wait until all data is migrated.


Applies To
OnGuard (all versions)