Adding a Barcode Card Format to OnGuard
Procedure Steps
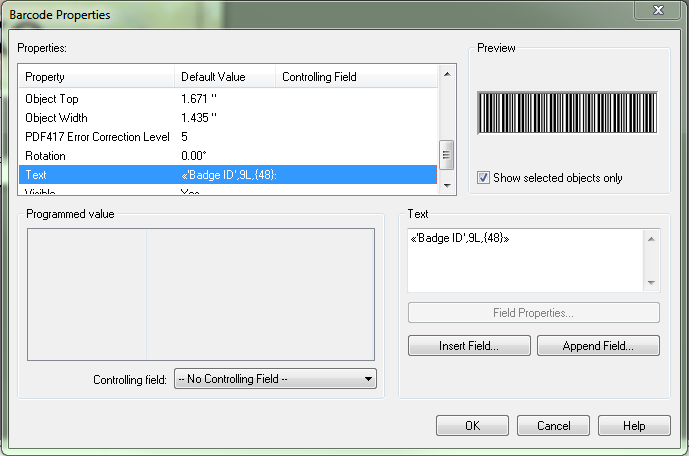
This procedure begins in Badge Designer. In the badge layout, find the barcode for Access Control, right-click on it, and select Properties.
Go into OnGuard > System Administration > Card Formats. Add a Magnetic Card Format. On the Card Format Tab, make sure there is no Facility Code or Badge Offset number, and that Access Control Track is set to 2. The only other option that is needed is the Field Order and Offset, which should be set to “Determined by Custom Fields”.
 Save all changes.
Finally, you will go to the reader if it is already added, and make sure the Output is set to “Mag with Wiegand Output”. Make sure there is a check box on the format created for this reader, and save. Scan a barcode to verify a valid Access Granted occurs.
Applies To
OnGuard (all versions)